✨ Step-by-Step Installation Guide for Your Aluminum Underglow Kit
This guide is for: Aluminum Underbody Lighting Kit – RGBW, or Flow Series
-
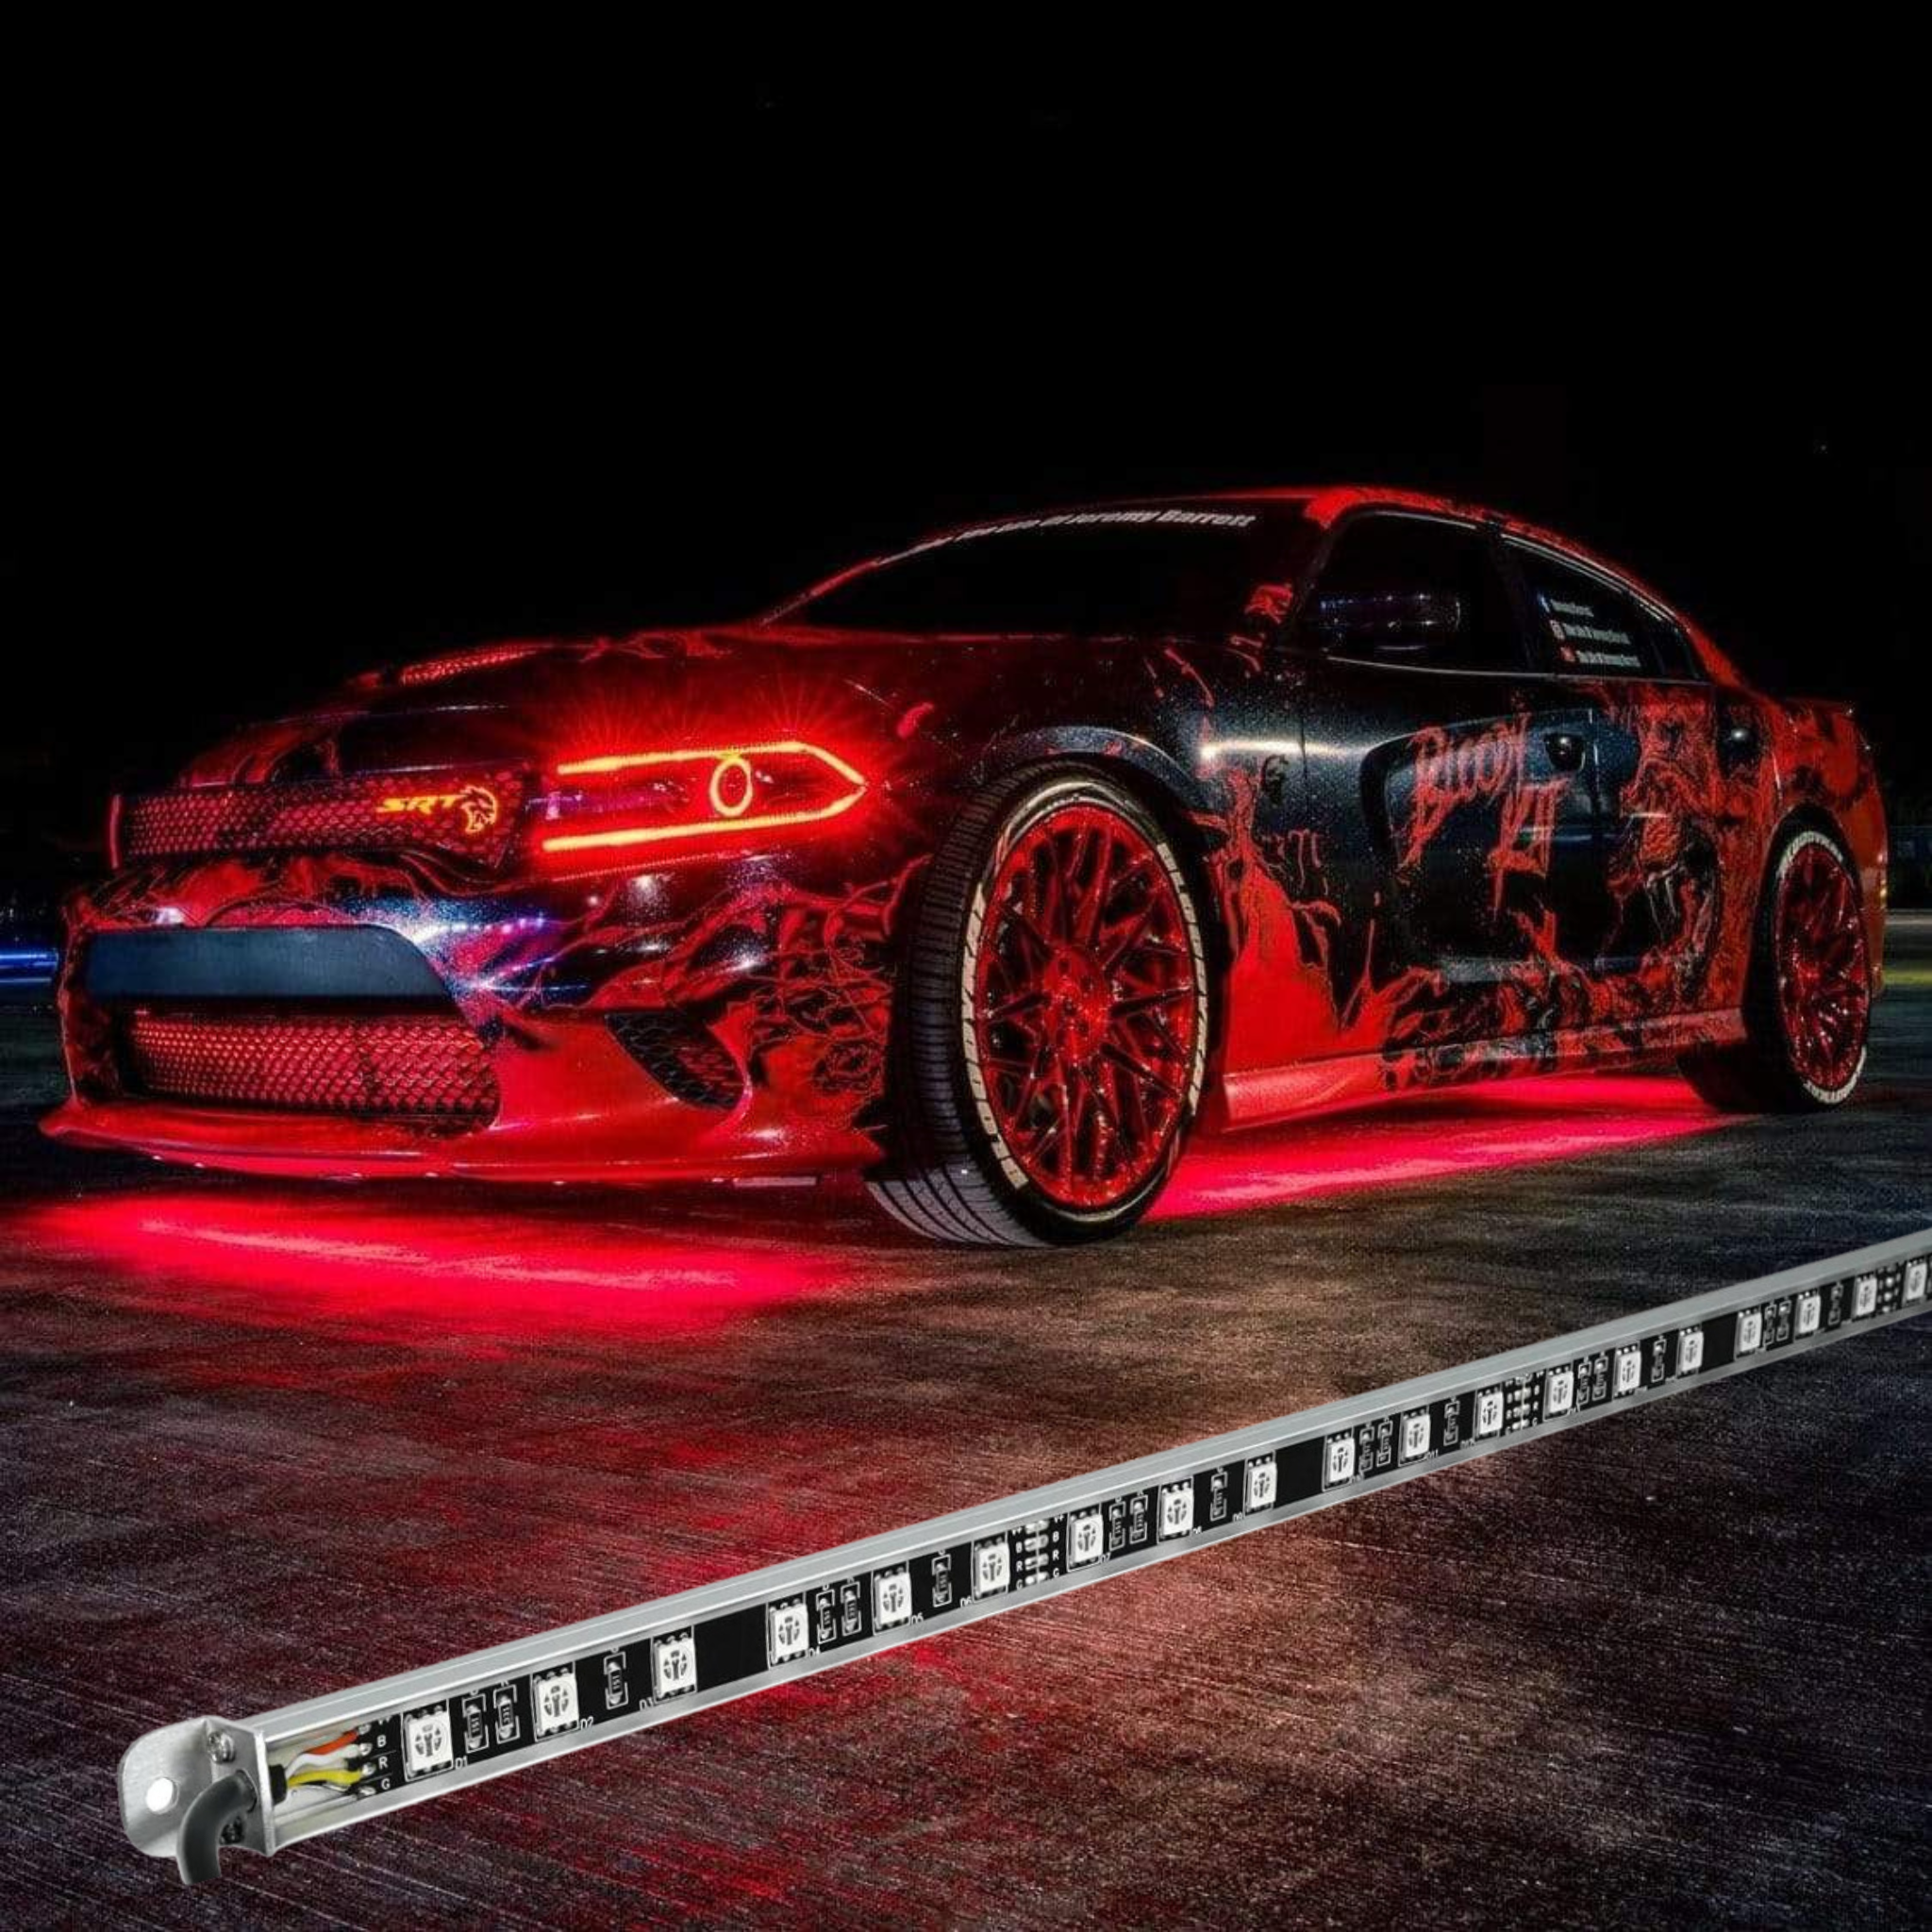
This kit includes rigid aluminum LED strips with pre-applied 3M tape and built-in screw mounting holes at both ends.
- Each strip includes 46-inch leads coming off both ends as well as the controller.
🔧 Required Tools & Materials
-
Rubbing alcohol + clean cloth
-
Adhesive promoter (optional but recommended)
-
Small screws and drill/driver (for built-in mount holes)
-
Zip ties or wire clips (for wire management)
-
Wire tuck tools or panel poppers (optional)
✅ Install Overview
-
Mount Bluetooth Controller in front engine bay near the battery or fuse box.
-
Strip Direction Matters: All LED strips must flow front to back (follow arrow direction printed on the strip).
-
Clean all mounting surfaces with alcohol to remove grease/dust.
-
Use adhesive promoter for surfaces like plastic or textured underbody for enhanced adhesion.
-
Peel and stick the aluminum strips down in this order:
-
Front (1 strip)
-
Sides (1 long strip per side)
-
Rear (1 strip)
-
-
Secure both ends of each strip using the built-in screw holes. We recommend stainless screws for durability.
-
Tuck interconnecting wires through fender liners (from front to sides, and sides to rear).
-
Connect strips to controller using labeled plug ends.
🚀 Controller Power & Wireless Relay Info
-
This controller features a built-in wireless relay.
-
After the controller is powered (wired to 12V), you must manually turn the remote ON.
-
Use the remote ON/OFF only when the vehicle will be sitting for extended time.
-
For regular use: control lights via the RGB Halo Kits app.
🖉 Using the App
-
Download the RGB Halo Kits app from iOS or Android store.
-
Connect via Bluetooth and explore:
-
Color changing modes
-
Flow patterns
-
Custom scenes
-
⚠️ Tips & Warnings
-
Never cut or shorten strips
-
Avoid mounting strips too close to the exhaust or moving suspension parts
-
Always use both adhesive and screws for maximum durability
-
Ideal to install in a clean, dry garage or out of direct sunlight
🔹 Reference Diagram
(See visual below. All arrows show required LED flow direction: front to back)
[Insert aluminum strip layout diagram with directional arrows]
Questions? Contact us anytime at info@rgbhalokits.com or DM us on Instagram @RGBHaloKits.
Light up the streets with confidence!
Comments
0 comments
Article is closed for comments.